Introduction to shinyproxy
Shinyproxy is an open-source system that makes it possible to deploy dockerized applications. The beauty of deploying your application with shinyproxy is that it gives you enterprise features in an open-source context.
Some of the gains of using shinyproxy system are:
- workspace isolation for each app session.
- you can have as many users as possible.
- you can deploy not only shiny apps but even django,flask etc.
- you can control memory and cpu usage using the docker API
The system however has some drawbacks:
- The user will have to wait for the container to be spinned up.
- Setting up the shinyproxy system calls for some bit of effort and advanced knowledge of docker.
Having said that we can now head over to some seven step guide on how to set up the shinyproxy platform in your computer.
1.Install java —-
visit this website and download java : https://www.azul.com/downloads/?package=jdk
navigate to where your download file is from the terminal and run
sudo apt install ./zulu17.30.15-ca-jdk17.0.1-linux_amd64.deb
2.Download shinyproxy —-
Download shinyproxy from their website : https://www.shinyproxy.io/downloads/
pick the file with .jar extension
Create a folder in your computer and name it shinyproxy then copy the jar file into the folder.
3.Docker + shinyproxy
Shinyproxy will need to talk to docker daemon so as to run the shiny app containers and by default shinyproxy connects through port 2375. We will therefore have to make some adjustments on docker start up options to ensure the two systems will connect.
If your machine uses systemd (ubuntu 16.04 LTS and above) use the following : sudo systemctl edit docker after an editor is opened, add the following lines to the file:
  [Service]
  ExecStart =
  ExexStart = /usr/bin/dockerd -H unix:// -D -H tcp://127.0.0.1:2375
save the file, close the editor then restart docker
sudo systemctl restart docker
4.Download the demo images from openanalytics :
sudo docker pull openanalytics/shinyproxy-demo
5.Create the application.yml file
Navigate to your shinyproxy folder then sudo touch application.yml
Copy the following into the .yml file and save the changes:

By that you have created the application.yml file that shinyproxy uses to spin up and manage your docker images.
N/B: Change the authentication from ldap to simple. You can go ahead and delete the ldap authentication configuration section
6.Start shinyproxy
To start shinyproxy navigate to the shinyproxy folder you created and run the following command:

                 java -jar shinyproxy-2.6.0.jar
Note : change the jar file name according to your version i.e yours could be shinyproxy-2.5.0.jar
Now you can go to your browser and enter the address : http://127.0.0.1:8080 and the following page will come :
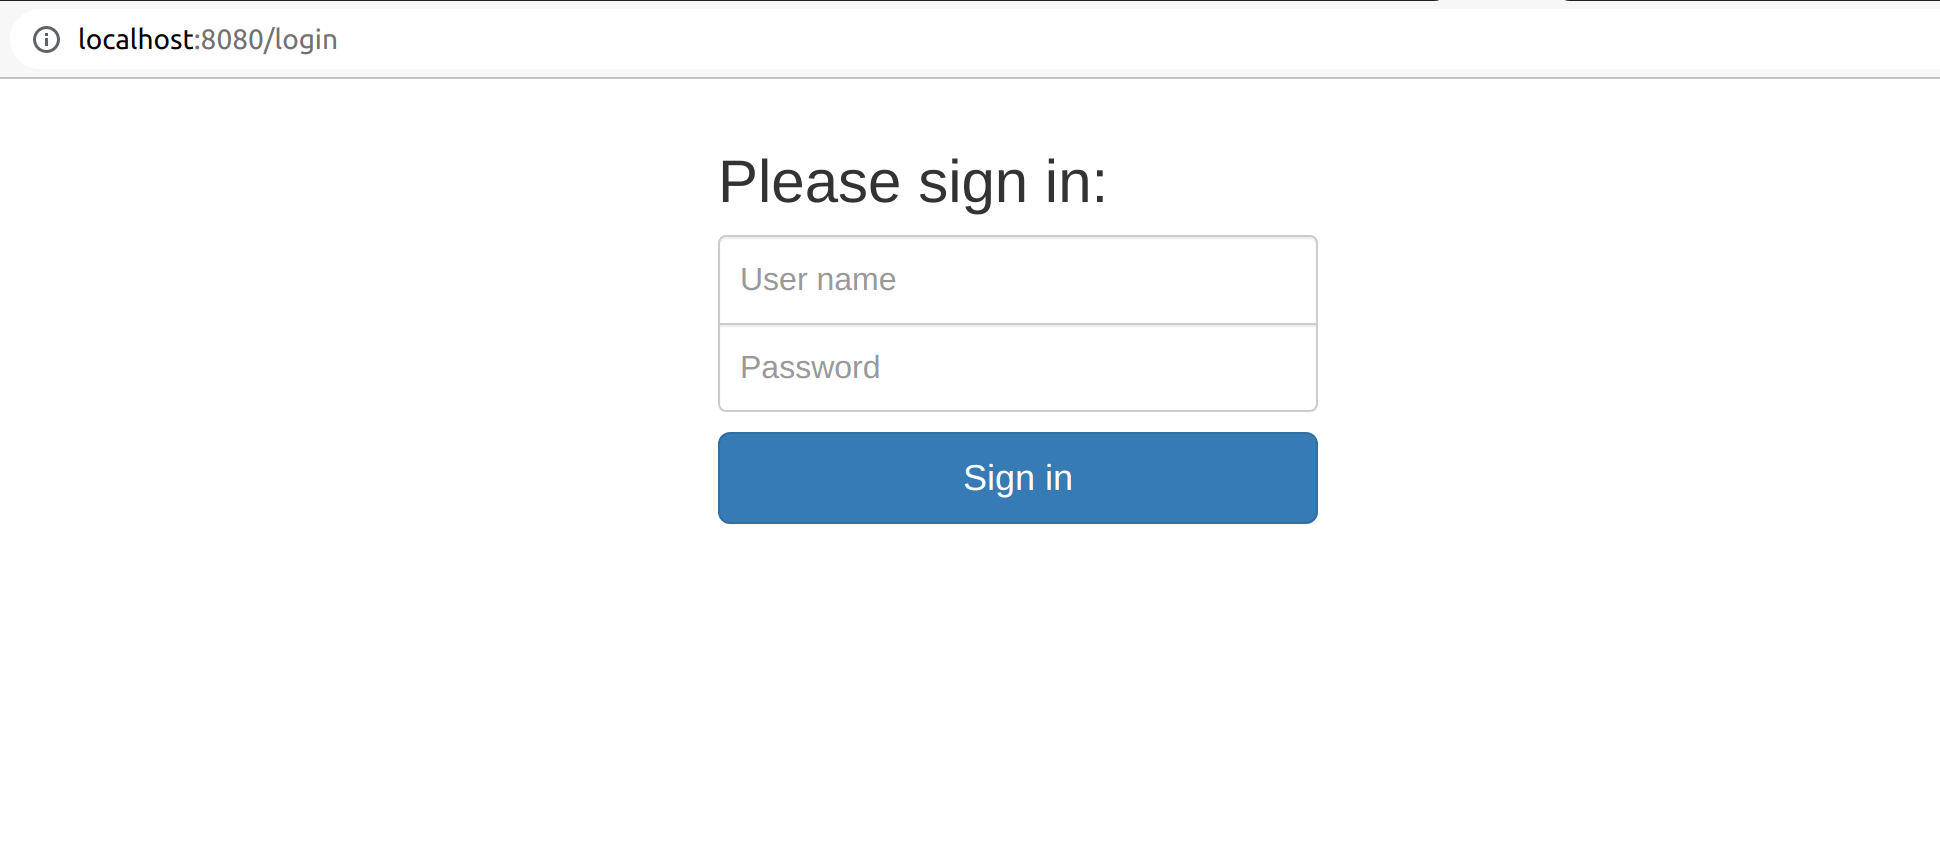
Log in with the credentials given in the application.yml file :
        username: jack
        password: password

        username: jeff
        password: password


        N/B: You can change the sign-in credentials to your liking
7.Adding your dockerized app to shinyproxy
If you’re able to interact with the demo images then we know that our shinyproxy and docker systems are working fine so far. If that’s the case then we can go ahead and add our dockerized app just to have a feel of how the process works.
To do that we will need to edit the application.yml file that put in the shinyproxy folder. Navigate to the folder and run the following command:
sudo nano application.yml
nano is an editor we use to edit text files.
Once you run the above command the editor will open the application.yml file. Go to the section under specs: and add your application as below:
         specs:
         - id: myapp
           display-name: Student profile application
           description: This is an application the has details of students and their performance
           container-cmd: ["R","-e","shiny::runApp('/shiny/dashboard')"]
           container-image: yourname/appimage


           N/B adjust the container-cmd and container-image accordingly. Also, ensure that the container-cmd command is as it is in the dockefile otherwise your container won't start.
Once you’ve made the adjustments you can now go back to the terminal where shinyproxy is running. Kill the process with control + c then restart shinyproxy again so that it picks up the edits on the yml file.
Head over to your browser as before and enter the address http://127.0.0.1:8080. Sign in with the appropriate credentials and there you will see your applications in the list.
And huuuurrrraaaaay !! we have managed to set up a local shinyproxy system.